

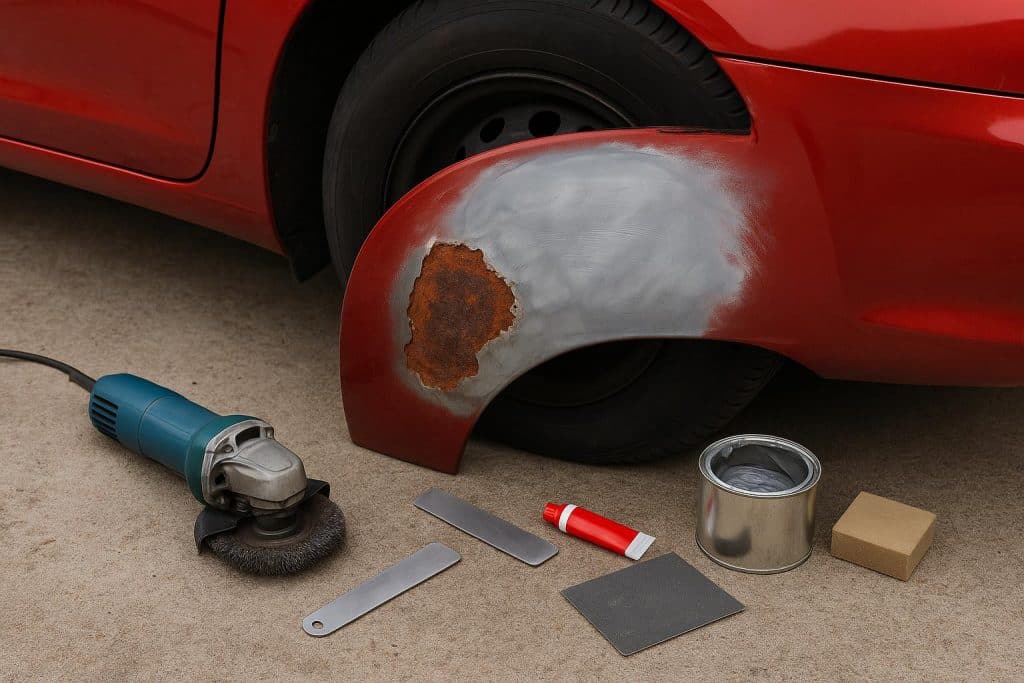
Rust is one of the most frustrating problems a car owner can face. It often starts as a tiny bubble in the paint or a small chip along a wheel arch. Then, almost before you notice, it spreads, eating into the metal and turning a cosmetic issue into a costly repair. Scratches, dents and stone chips can also leave bare metal exposed, giving rust a perfect place to start.
The good news is that many minor body repairs can be tackled at home with some patience, basic tools and the right materials. Small rust spots, surface scratches and stone chips are often manageable for DIY enthusiasts. Proper preparation is essential, and products such as 2K primer aerosols can help protect repaired areas and create a durable foundation for paint.
Understanding rust
Rust forms when iron or steel reacts with oxygen and moisture. Cars are particularly vulnerable in areas exposed to water, road salt, dirt and stone chips, such as wheel arches, door sills, the bottom of doors, around windscreens and under the vehicle.
There are generally three stages of rust. Surface rust affects only the top layer of metal and often appears as small orange or brown spots. Scale rust occurs when rust has penetrated deeper, causing pitting and flaking. Penetrating rust has eaten through the metal, creating holes.
Surface rust and small areas of scale rust can often be repaired at home. Penetrating rust or rust affecting structural components usually requires professional repair.
Gather the right tools and materials
Before starting, make sure you have the necessary equipment. Common items include sandpaper in various grits, a sanding block, wax and grease remover, rust converter or treatment, body filler for small dents, masking tape and paper, primer, touch-up paint or spray paint and clear coat.
Safety gear is essential. Wear gloves, safety glasses and a suitable respirator when sanding or spraying. Work in a well-ventilated area and follow product instructions carefully.
Clean and prepare the area
Start by washing the car thoroughly to remove dirt, grime and wax. Then clean the repair area with wax and grease remover. Contaminants can prevent primers and paints from adhering properly.
Mask off surrounding panels, trim and glass to protect them from overspray and sanding damage. Use automotive masking tape and paper or plastic film.
Remove rust and repair the surface
For surface rust, sand the affected area until bright, clean metal is exposed. Feather the edges of the surrounding paint to create a smooth transition between the repaired area and the original finish.
If small pits remain, a rust converter or treatment can help neutralise remaining rust and protect the metal. Follow the manufacturer’s instructions for application and drying times.
For small dents or imperfections, apply a thin layer of body filler and smooth it with a spreader. Allow it to cure, then sand it flush with the surrounding panel. Several thin layers usually produce better results than one thick application.
Run your hand over the surface regularly. Your fingertips can often detect imperfections that are difficult to see.
Prime, paint and protect
Primer protects bare metal from moisture and helps paint adhere. It also fills minor scratches and creates a uniform surface for colour coats.
Two-component primers, often called 2K primers, contain a hardener that creates a tougher, more durable finish than standard single-component primers. They can offer better adhesion, chemical resistance and protection against corrosion, making them popular for automotive repairs. Apply primer in light, even coats, allowing proper drying time between layers. Once cured, lightly sand the primer with fine-grit sandpaper to create a smooth surface for painting.
Match the paint to your car’s original colour using the paint code, usually found on a plate or sticker in the door jamb, engine bay or owner’s manual. Apply colour coats in thin layers, holding the spray can at the recommended distance. Allow each coat to dry before applying the next. Once the colour coat has dried, apply clear coat to protect the paint and restore gloss.
After the repair has fully cured, you may be able to polish the area to blend it with the surrounding paint. Avoid aggressive polishing until the paint has hardened completely.
Prevent future rust, and know when to call a professional
Regular washing helps remove dirt, salt and grime that can trap moisture. Pay particular attention to wheel arches, sills and the underside of the car. Repair stone chips and scratches promptly before rust has a chance to develop. Applying wax or paint protection can add an extra barrier against moisture and contaminants.
DIY repairs are best suited to small, cosmetic issues. If rust has created holes, affects structural components or covers large areas, seek professional help. Structural repairs may affect vehicle safety and roadworthiness.
Tackling rust and minor body damage at home can save money and help keep your car looking its best. With careful preparation, quality materials and patience, many small repairs can be completed successfully in your own garage.