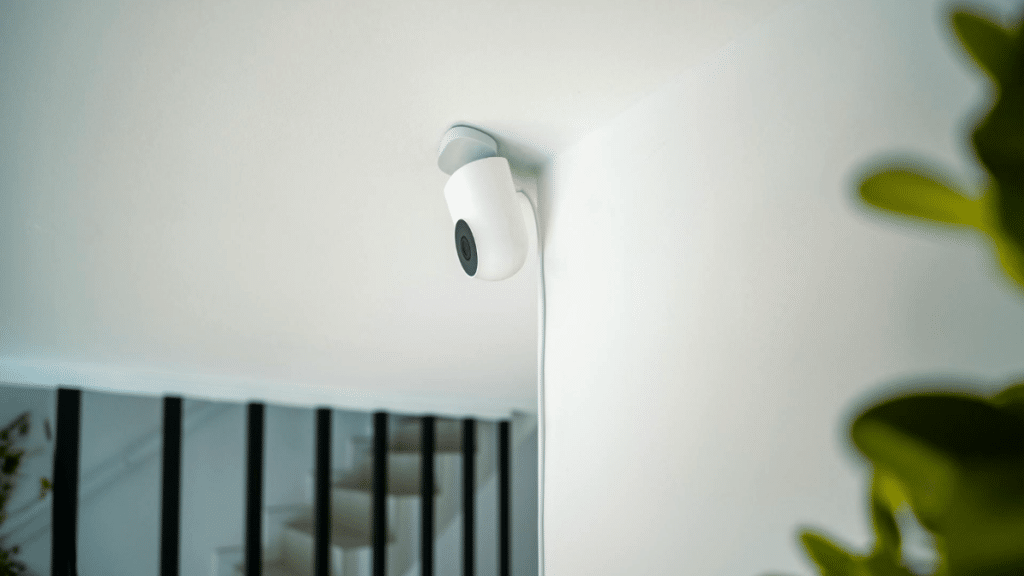
Imagine checking on your home, office, or vacation property from the palm of your hand, no matter where you are. That’s the power of IP cameras paired with remote monitoring software.
While setting up such a system might seem technical, it’s more straightforward than you think—if you follow the right steps.
In this guide, we’ll walk you through a unique and foolproof process to set up your IP camera software for seamless remote monitoring.
Step 1: Understand the Basics of IP Cameras and Software
Let’s lay the groundwork before diving into the setup.
What is an IP Camera?
An IP (Internet Protocol) camera is your personal eye in the sky, capable of streaming live video through the internet. Unlike older systems, IP cameras don’t require bulky recording devices. They are lightweight, smarter, and tailored for the digital era.
What Do You Need?
● IP Camera: Choose one with features like motion detection, night vision, or wide-angle lenses (depending on the reason you need one).
● IP Camera Software: This is the brain behind the setup. Manufacturers often provide proprietary software, but third-party options can also get the job done perfectly.
● Internet Connection: Stable connectivity ensures smooth streaming.
● A Viewing Device: A computer, smartphone, or tablet for accessing the live feed.
Step 2: Get Your IP Camera Up and Running
The first hurdle is installing the camera. Here’s how to do it right:
Location Matters
Pick a spot with a clear view of the area you want to monitor. Whether indoors or outdoors, ensure the location is within range of your Wi-Fi router. For outdoor setups, consider weatherproof cameras.
Power and Network Connection
● For Wired Cameras: Connect the camera to your router using an Ethernet cable. This ensures a stable connection and eliminates interference.
● For Wireless Cameras: Power up the camera, then follow the manufacturer’s guide to connect it to your Wi-Fi. Many modern cameras have QR codes or apps that simplify this process.
Step 3: Install and Set Up the Software
The software is where the magic happens. Here’s how to get it right:
Choosing Your Software
Most cameras come with recommended software. Download it from the official website or app store. If you’re exploring third-party options, check compatibility with your camera model. If you don’t need any fancy features, free PC security camera software is more than enough.
Installation and Account Setup
● Download the software on your preferred device.
● Install it by following the prompts.
● Create an account if required—this will allow you to log in remotely.
Step 4: Sync the Camera with the App
Once the software is installed, it’s time to pair it with your camera.
Adding the Camera
● Open the software and select the option to add a new device.
● Enter the camera’s details, such as its unique ID or serial number, found on the device or in its manual.
● For Wi-Fi cameras, you may need to input your network credentials.
Assign a Static IP Address
A static IP address ensures your camera remains consistently accessible. Configure this through your router settings. If you’re unsure, look up the router’s manual for guidance.
Step 5: Fine-Tune Camera Settings
Customizing the camera’s settings can elevate your monitoring experience:
● Adjust Resolution: Opt for high-definition if bandwidth allows or scale down for slower connections.
● Set Up Motion Detection: Define specific zones to reduce unnecessary alerts (like passing cars or swaying trees).
● Enable Alerts: Decide how you want to be notified—via app push notifications, email, or text.
Step 6: Enable Remote Access
Remote access is the heart of the setup, allowing you to monitor from anywhere.
Set Up Port Forwarding
● Log in to your router’s admin panel.
● Navigate to port forwarding settings.
● Forward the specific port used by your camera to its static IP address.
Consider Dynamic DNS (DDNS)
For users without a static public IP address, DDNS services assign an easy-to-remember hostname to your dynamic IP. This makes accessing your camera feed simpler.
Test Access
Once configured, log in from a different device or network to confirm you can view the feed remotely.
Step 7: Strengthen Security
IP cameras are connected to the internet, which means they’re potential targets for cyberattacks. Securing your setup is non-negotiable.
● Change Default Passwords: Default credentials are easy to exploit. Use a strong, unique password.
● Enable Two-Factor Authentication (2FA): If the software supports it, activate 2FA for added protection.
● Use Encrypted Streams: Choose software that supports encrypted video feeds for
Step 8: Start Monitoring
With everything in place, it’s time to reap the rewards of your setup. Open the software on your device, log in, and explore its features. Many IP camera systems allow you to:
● Watch live streams.
● Review recorded footage stored locally or in the cloud.
● Adjust settings as necessary.
Step 9: Troubleshooting Common Issues
Even with the best setup, occasional hiccups can occur. Here’s how to tackle them:
● No Video Feed: Ensure the camera is powered on and connected to the network.
● Frequent Disconnections: Check the Wi-Fi signal strength or switch to a wired connection.
● Poor Quality Video: Adjust the resolution or bitrate to match your internet speed.
Conclusion
Setting up IP camera software for remote monitoring doesn’t have to feel like decoding a spy gadget. By following this tailored step-by-step guide, you can transform your IP camera into a reliable tool for security and peace of mind. Take the time to understand your camera’s features, secure your setup, and enjoy the convenience of monitoring your space from anywhere.

